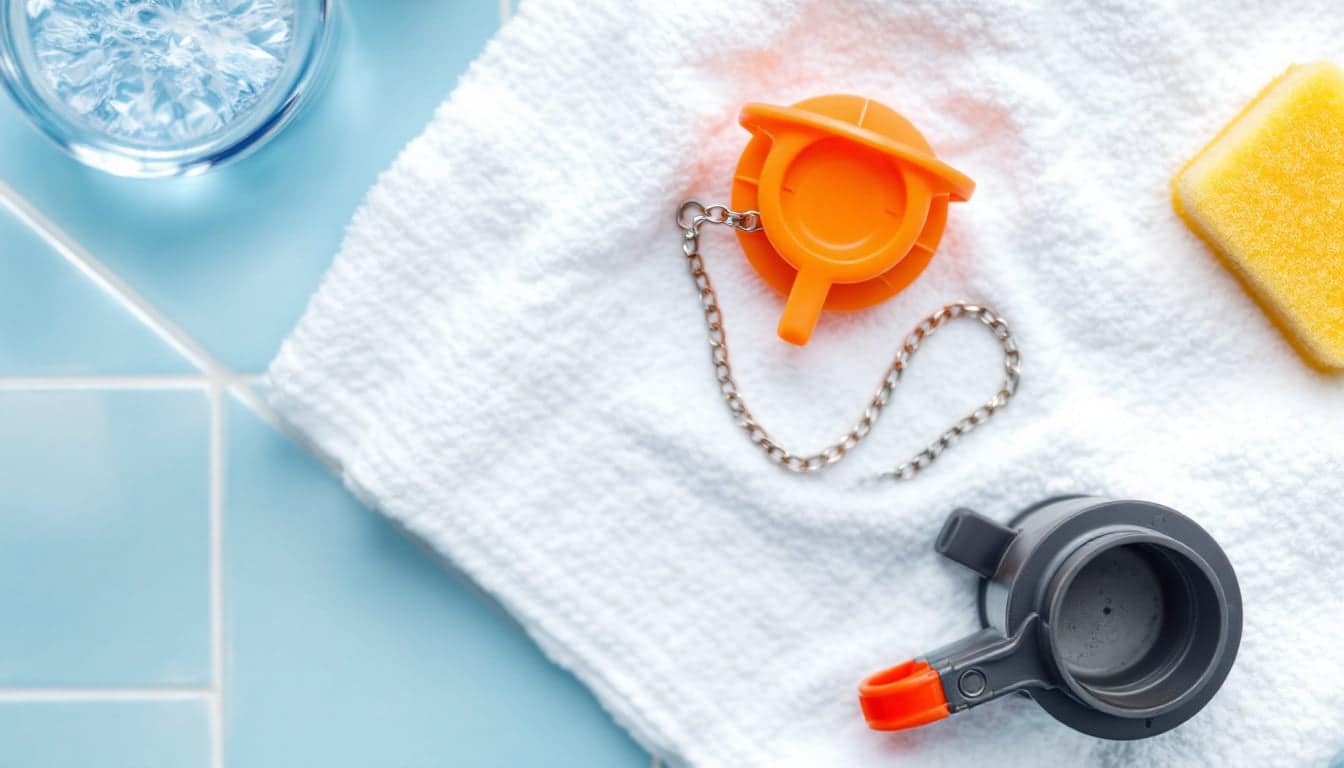
How to fix a running toilet, in most cases: replace a floppy piece of rubber at the bottom of the tank. No special tools, no plumber, about twenty minutes, and the most technical part is not dropping the old one on the bathroom floor.
The other cases are the fill valve, the chain or the handle, and you can rule those in or out before you buy anything. So diagnose first, then fix. A toilet that keeps running isn't an emergency, but it's not harmless either. The US EPA's WaterSense programme estimates that household leaks can waste nearly 10,000 gallons (about 38,000 litres) a year, and a leaking toilet is one of the usual culprits.
Some tool links earn us a commission. As an Amazon Associate I earn from qualifying purchases.
Why a toilet keeps running
Take the lid off the tank and lay it somewhere soft. It's heavy, it's ceramic, and it breaks if you look at it wrong.
Inside, the layout is simple. The handle turns a lever arm. The lever arm lifts a chain. The chain lifts the flapper, a rubber cap sitting over the big hole in the bottom of the tank (the flush valve). Water rushes into the bowl, the flapper drops back and seals, and the fill valve on the other side refills the tank until its float tells it to stop. Standing up next to the flush valve is the overflow tube, an open pipe that sends water straight into the bowl if the level ever gets too high.
So water has only two ways to escape when the toilet should be quiet:
- Past the flapper, because it's warped, stiff, dirty or held open by the chain.
- Over the top of the overflow tube, because the fill valve isn't shutting off.
Either way the tank level drops, the fill valve kicks in to top it up, and you hear the hiss. Your job is to find out which leak you've got.
Diagnose it in ten minutes
| What you notice | What it usually means | Fix |
|---|---|---|
| Tank refills by itself every so often, nobody touched it | Slow leak past the flapper | New flapper, clean the seat |
| Constant hiss, water running into the overflow tube | Fill valve not shutting off | Lower the float, then the fill valve |
| Runs after a flush until you jiggle the handle | Chain too short or snagged, or the handle sticking | Adjust the chain, free the handle |
| Weak flush, you have to hold the handle down | Chain too slack | Shorten the chain |
| Trickle down the inside of the bowl all day | Flapper or a worn flush valve seat | New flapper; check the seat |
The dye test
Put a few drops of food colouring in the tank. Don't flush. Wait 15 to 20 minutes. If colour shows up in the bowl, water is getting past the flapper. If the bowl stays clear, the flapper is sealing and the problem lives somewhere else.
Water level and the overflow
Look at where the water sits. Most tanks have a line marked on the inside or on the overflow tube. With no line, aim for about 1 inch (25 mm) below the top of the tube. If water is lapping at the top or trickling in, the fill valve is the problem, not the flapper.
The chain and the refill tube
With the flapper closed, the chain should hang with a little slack. If it's tight, it's holding the flapper open a crack. Also check the thin refill tube that runs from the fill valve to the overflow tube. It should clip on above the water and spray into the tube. If someone has pushed it down inside the overflow tube below the water line, it can siphon water out of the tank constantly. Pull it up and clip it.
2-inch or 3-inch flapper?
This is where people buy the wrong part, so measure.
Shut the water off, flush to empty the tank, and look at the hole the flapper covers. Measure across the opening. About 2 inches (50 mm) means a 2-inch flapper, which is the most common size. About 3 inches (75 mm) means a 3-inch flapper, common on many newer low-flow toilets that need a faster, bigger dump of water. Even without a tape, a 3-inch flapper looks oddly large, roughly the size of your palm.
Then check how the old one is mounted:
- Ears on pegs. Two small rubber loops clip onto pegs on either side of the overflow tube.
- Ring over the tube. A rubber collar slides down over the overflow tube itself.
Most universal flappers have both. Cut the ring off along the marked line if your tube has pegs.
Once you know the size, a universal 2-inch flapper fits most standard tanks, and the 3-inch version is for the larger opening. Taking the old flapper to the shop with you also works, if you don't mind carrying it in a sandwich bag.
Some toilets don't have a flapper at all. If you see a tall plastic cylinder in the middle of the tank that lifts straight up when you flush, that's a canister flush valve. It seals with a gasket at its base, and you need that model's seal, not a flapper. Same goes for some toilets with an adjustable flapper that has a dial on top: replace like for like, and set the dial to match the old one.
How to replace a toilet flapper
- Shut off the water. The supply valve is on the wall or floor behind the toilet. Turn it clockwise until it stops. If it won't turn, don't force it with pliers (see the box below).
- Drain the tank. Flush and hold the handle down so the tank empties. Sponge out what's left at the bottom into a bucket.
- Unhook the chain from the lever arm. Note which hole it was in.
- Remove the old flapper. Pull each ear off its peg, or slide the ring up and off the overflow tube. Have a look at it. A soft, swollen, black-smudged or warped flapper explains a lot.
- Clean the seat. Run a finger round the rim of the flush valve opening. You want it smooth. Wipe off slime and mineral deposits with a non-scratch scouring pad. Don't use sandpaper or steel wool, which leave grooves the new flapper can't seal over. Heavy white crust is limescale; hard water and limescale explains where it comes from.
- Check the seat for damage. Pits, cracks or a chewed edge mean a new flapper will leak too. That's a flush valve problem, and a bigger job.
- Fit the new flapper. Push the ears onto the pegs, or slide the ring down the tube until the flapper sits centred over the hole. Flip it up and down a few times. It should drop square and land flat, without catching.
- Attach the chain to the lever arm hole directly above the flapper, with a little slack (more on that below).
- Turn the water back on slowly, anticlockwise. Let the tank fill and check the water stops at the right level.
- Flush three or four times. Watch the flapper lift, fall and seal each time. Listen for silence afterwards.
- Dye test again after 20 minutes. Clear bowl, job done.
Adjusting the chain
The chain decides whether a perfectly good flapper works.
- Too tight and it holds the flapper slightly open. The toilet runs.
- Too loose and the flapper doesn't lift far enough. The flush is weak, or it stops mid-flush unless you hold the handle. A long loose chain can also fall under the flapper and stop it sealing.
Aim for about 1/2 inch (12 mm) of slack when the flapper is closed, which on most chains is one or two links. Clip it to the hole on the lever arm that sits straight above the flapper, so the pull is vertical. Trim the spare chain with pliers, but leave a short tail so you can adjust it later. If your new flapper came with a small float on the chain, leave it where the instructions say; it controls how long the flapper stays open.
While you're there, work the handle. If it sticks down after a flush, the nut inside the tank holding it may be loose or corroded. On many toilets that nut is reverse threaded, so it tightens anticlockwise. A sticky handle can make a new flapper look faulty.
When it's the fill valve instead
If the dye test came back clear and water is running into the overflow tube, the flapper was never the problem.
First, lower the water level. On a float cup that rides up and down the valve shaft, turn the adjustment screw or squeeze the clip and slide the cup down a little. On an older ball float on an arm, turn the screw where the arm meets the valve, or bend the arm down very slightly. Set the level to the line, or about 1 inch (25 mm) below the top of the overflow, and flush to check.
If the level still creeps up and spills over, the valve's internal seal is worn or grit is stuck in it. Most replacement fill valves are universal and adjust for height, and swapping one is a separate job with its own steps.
Toolbox
- EasyAdjustable universal toilet fill valve
A height-adjustable fill valve that replaces a worn ballcock or noisy valve in most two-piece toilets.
Buy on Amazon - EasyQuiet-fill universal toilet fill valve
An adjustable fill valve designed to refill the tank quietly; a good swap when the old one hisses or hammers.
Buy on Amazon
Picked from specifications and published reviews, not tested by us.
FAQ
Why does my toilet keep running after I flush?
Most often the chain is too short or tangled and holds the flapper open, or the flapper is warped and doesn't drop flat. Jiggling the handle helps because it shakes the flapper back onto the seat. A fix that needs jiggling isn't a fix.
How do I stop a running toilet right now?
Turn the supply valve behind the toilet clockwise until it closes. The toilet will still flush once, from what's in the tank. If the valve won't move, lifting the float by hand stops the filling for as long as you hold it, which is useful for about a minute.
How long does a toilet flapper last?
There's no fixed lifespan. Flappers go soft, swell or stiffen over a few years, faster in water with a lot of chlorine. Replace it when it's misshapen, slimy or no longer passes a dye test.
Do in-tank cleaning tablets damage flappers?
Bleach-based tablets that sit in the tank can attack the rubber and shorten a flapper's life. Many toilet makers advise against them. Clean the bowl from the bowl side instead.
Not sure whether anything is still leaking once the toilet goes quiet? A water meter leak test answers that in an hour, and the leak detection guides cover what to check next.
Tools for this job Toolbox: Toilets and cisterns

Owen Pritchard
Owen handles everyday repairs (dripping taps, weak showers, blocked loos) and has firm views on coat hangers, caustic soda and anything sold as "flushable".
General guidance only. Gas, electrical and structural work must be done by a suitably qualified person, and rules differ from country to country.


