A tankless water heater flush kit does one job: it pushes descaling solution round a tankless heater's heat exchanger so the scale inside dissolves before it chokes the flow. If you own a gas or electric tankless unit with service valves underneath and your water leaves white crust on the taps, you will use one about once a year. If you own an ordinary tank water heater, you do not need one at all.
The short recommendation: a basic kit, meaning a small submersible pump and two hoses, plus a bucket and either white vinegar or the descaler your heater's maker approves, covers what most homes need. Before buying anything, though, look under the heater. Whether it has service valves decides whether the job is a calm hour on a Saturday or a plumber's visit first.
Step one: check for service valves
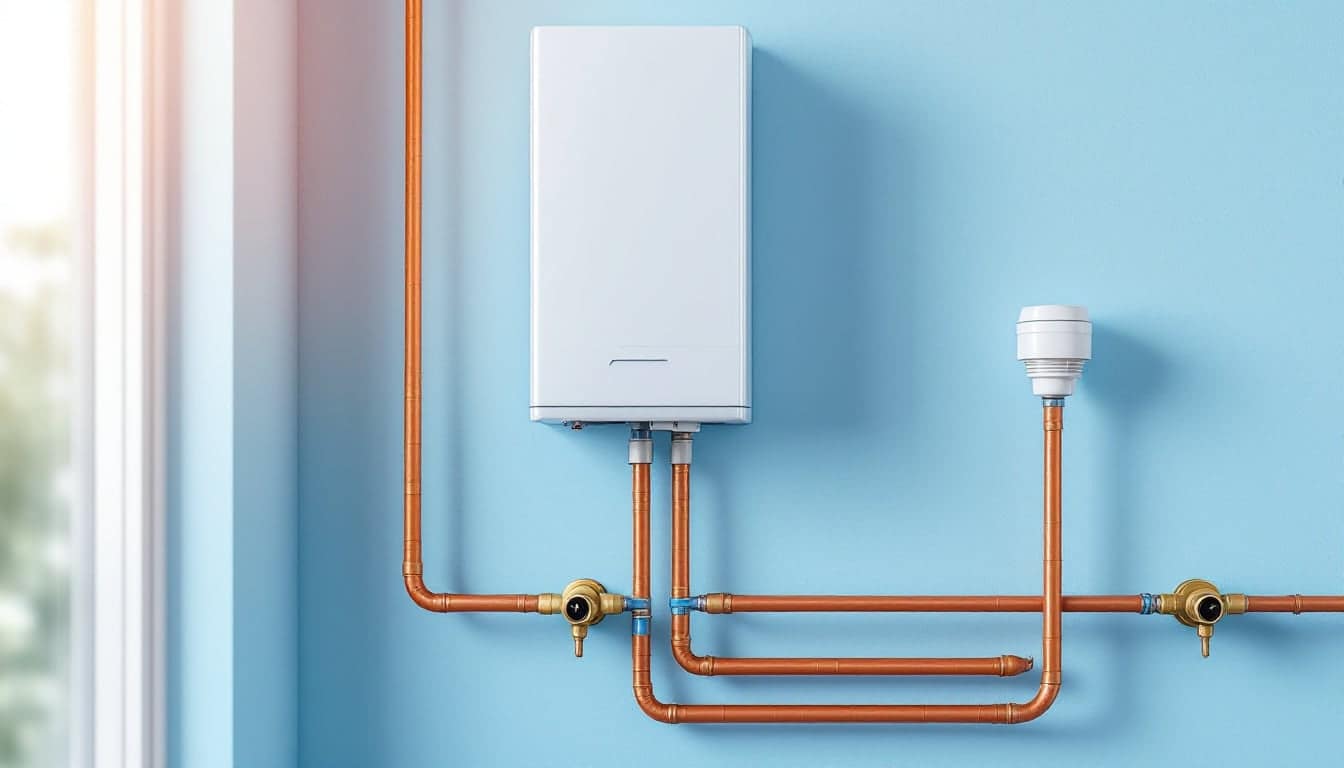
Look at the pipes directly under the unit. A heater set up for easy flushing has two isolation valves, one on the cold inlet and one on the hot outlet. Each has a main handle that shuts off the house side and a small side port with a cap, usually a hose thread, often with its own little purge handle. The handles are frequently colour-coded, blue for cold and red for hot.
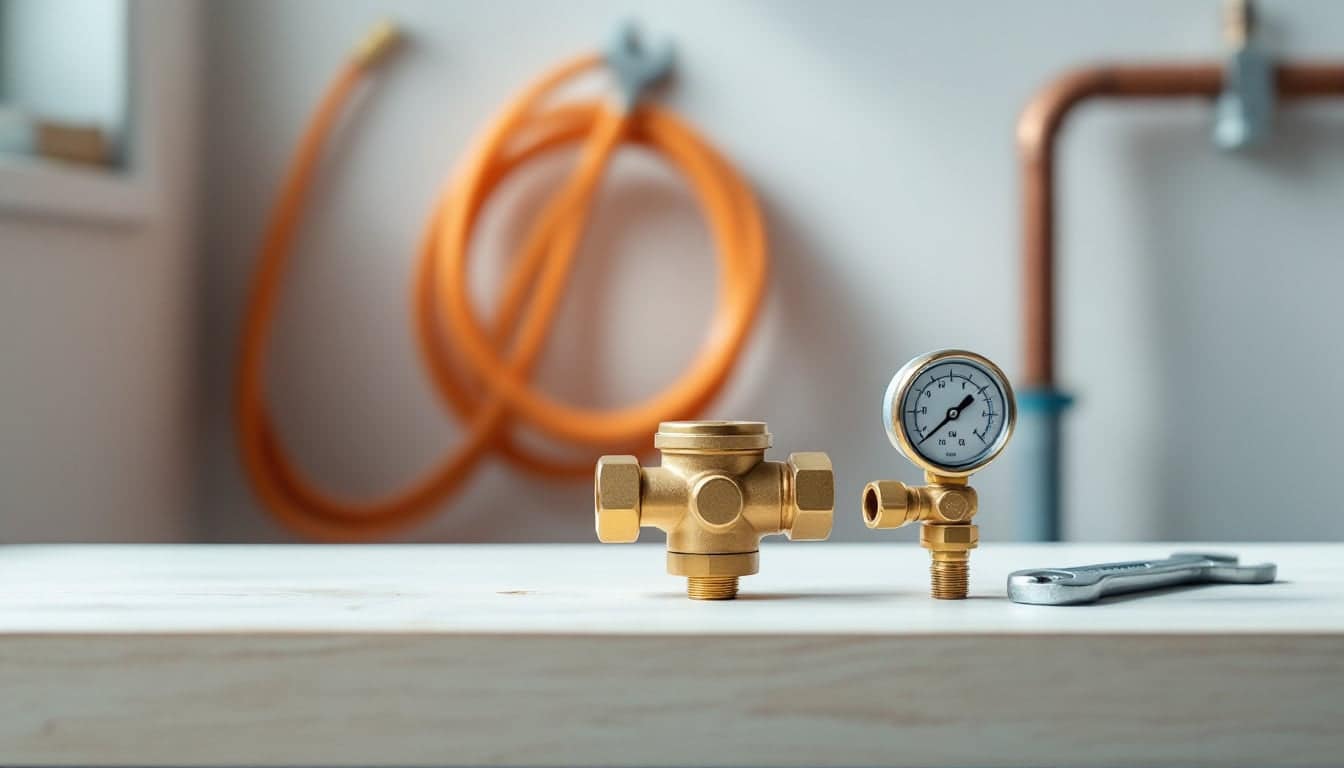
If you can see those two ports, a flush kit connects straight on. If you see plain pipes, or ordinary shut-off valves with no side ports, there is nowhere to attach the hoses without opening up the pipework. The answer is a tankless isolation valve kit: a matched pair of service valves that a plumber fits into the inlet and outlet lines. Some sets also carry a pressure relief valve on the hot side, which some makers and local codes call for on tankless units. It is a one-time job, and after it every future flush is a task you can do yourself. If you are still planning an installation, ask for these valves from the start; the guide to tankless water heater installation covers what else belongs on that list.
What a flush kit contains
Kits vary in what they bundle, so read the list of contents rather than trusting the picture.
| Part | What it does | What to check |
|---|---|---|
| Submersible pump | Sits in the bucket and pushes solution into the cold-side port | That it is meant for descaling solutions, has a switch, and has a cord long enough to reach a socket |
| Supply hose | Carries solution from the pump to the cold service port | Hose-thread ends that match your ports, and enough length to reach the floor |
| Return hose | Brings solution from the hot service port back to the bucket | The same; a clear hose lets you see what comes back |
| Bucket | Holds the pump and a few gallons of solution | Often not included; a 5 gallon (19 litre) bucket is the usual size |
| Descaler | Dissolves the scale | Often not included; it must suit your heater (see below) |
Most of the value lies in the pump and hoses being matched to each other. A small utility pump with a hose-thread outlet and two washing machine hoses can do the same work, but a kit saves you hunting for adaptors. When comparing tankless descaling pump kits, check the hose ends against your ports and whether a bucket comes with it.
Descaler choice: white vinegar or a commercial descaler
The descaler matters more than the pump. Scale in a tankless heater is mostly calcium carbonate, and mild acid dissolves it. The real question is which acid your heater's maker accepts.
| Option | Strengths | Watch out for |
|---|---|---|
| Undiluted white vinegar | Easy to find, food-safe, accepted by many makers | Slower on heavy scale; give it the full circulation time |
| The maker's own descaler | Made for that heat exchanger; the safest choice where the manual names it | Usually sold only through the maker or its dealers |
| A general descaling product | Often quicker on heavy scale | Both the heater manual and the product label must allow it for water heaters |
Three rules apply whichever you pick. Follow the descaler and the circulation time given in your heater's manual, which overrule anything you read on a forum. Never mix two descalers, or a descaler with any other cleaning product. And rinse thoroughly with fresh water afterwards, because acid left in the exchanger keeps working on the metal.
A general calcium, lime and rust remover earns a place in the cupboard even if your manual asks for vinegar in the heater itself. It is the quick way to clean the inlet filter screen, and the faucet aerators and shower heads that the same hard water has been scaling. Read the label for surfaces to avoid.
How often to flush, by water hardness
Most makers suggest descaling a tankless unit about once a year and more often in hard water, and many heaters show a scale or maintenance code when the exchanger needs attention. To set your own interval, find out how hard your water is. A water hardness test strip dipped in a glass of cold tap water gives an answer in under a minute, or your water utility's annual quality report will list the figure.
| Hardness | Grains per gallon | mg/L (ppm) | A sensible starting interval |
|---|---|---|---|
| Soft | Under 3.5 | Under 60 | Yearly, or as the manual says |
| Moderately hard | 3.5 to 7 | 60 to 120 | Yearly |
| Hard | 7 to 10.5 | 120 to 180 | Every 6 to 12 months |
| Very hard | Over 10.5 | Over 180 | Every 6 months, and consider treating the water |
Treat these intervals as a starting point. The heater's set temperature and how much hot water the house uses both change how fast scale builds, and some warranties exclude damage caused by scale, or set a hardness above which the water should be treated. If you find yourself descaling every few months, the water softener size calculator shows what capacity your household would need, and the guide to hard water and limescale explains where that crust comes from.
Tank water heaters do not need a pump
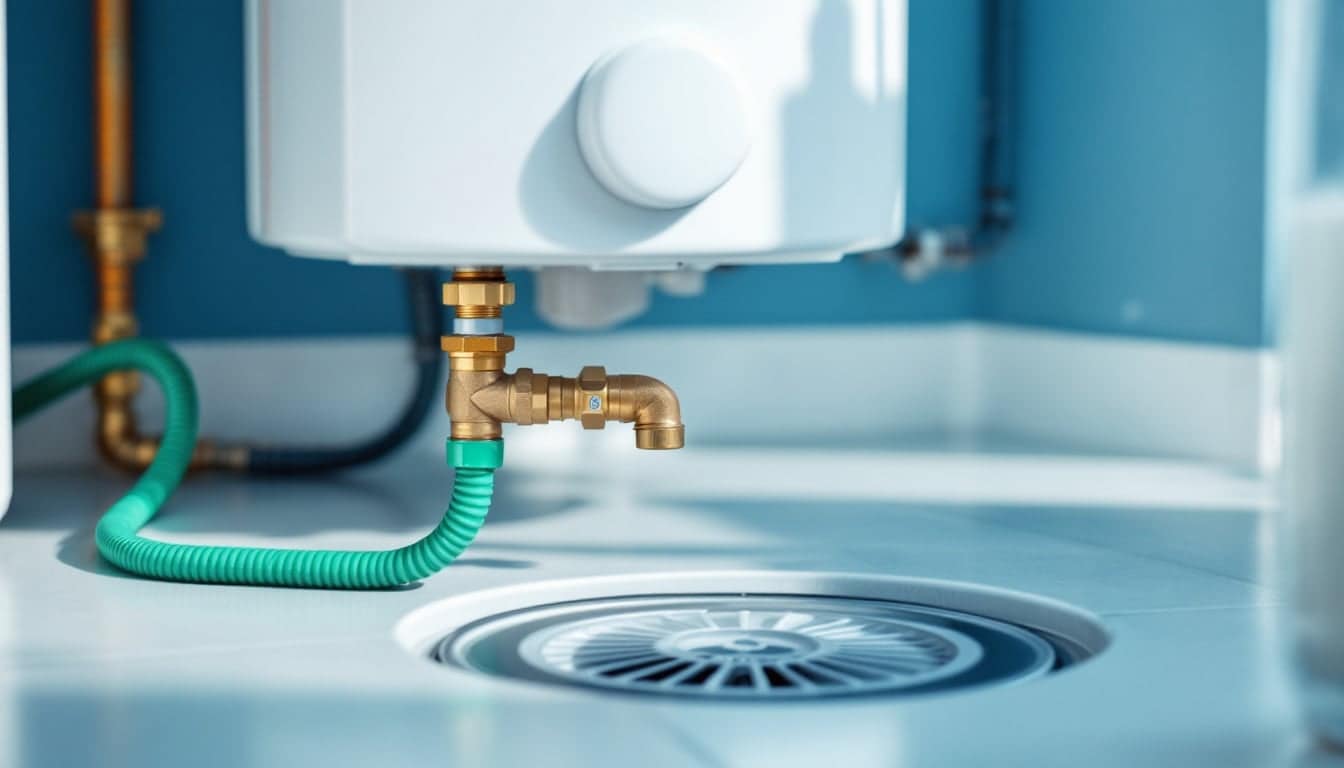
A tank water heater is flushed, not descaled. Its sediment settles on the tank floor and leaves through the drain valve under gravity, so all it needs is a garden hose, a floor drain or a bucket, and some patience. There is no pump and no descaler circulated through it. The full routine for both kinds of heater is in the guide to flushing a water heater, including how to keep an electric tank from dry firing when it is refilled.
Heat pump water heaters are tanks too and drain the same way, though their manuals usually add an air filter and a condensate line to the maintenance list.
Before you buy: a short checklist
- Service valves fitted? Without them, plan a plumber's visit first.
- Port thread. Most service ports take a standard garden hose thread, but check yours against the kit's hose ends.
- Hose length. The bucket sits on the floor, and the ports on a wall-hung unit can be well above it.
- A socket within reach. The pump needs mains power close to the heater, ideally a GFCI-protected outlet, since you will be working around water. Keep any extension lead out of puddles.
- Solution volume. Kits typically work with 2 to 4 gallons (8 to 15 litres) of solution. Make sure your bucket holds that comfortably and the pump intake stays covered.
- The manual. Some makers give a model-specific descaler, circulation time and procedure, and a few electric tankless units are built without service ports at all. Read the maintenance page before choosing anything.
Mistakes that make a simple job harder
- Running the pump dry. Keep the intake covered and watch the level drop as the hoses and exchanger fill.
- Forgetting power and gas. Switch off or unplug the heater, and close the gas valve on a gas unit, before you open anything.
- Opening the service ports with the isolation valves still open. That sends mains pressure straight into your bucket. Close the house side first.
- Skipping the inlet filter. Most units have a small mesh screen at the cold inlet that catches grit, and a flush that leaves it blocked leaves the flow low.
- Reusing old solution. Use fresh solution each time; vinegar that has already dissolved a year of scale has little left to give.
- Walking away from wet fittings. Check every connection once the heater is back in service, and leave a battery leak alarm on the floor under the unit, ideally for good.
A flush in outline
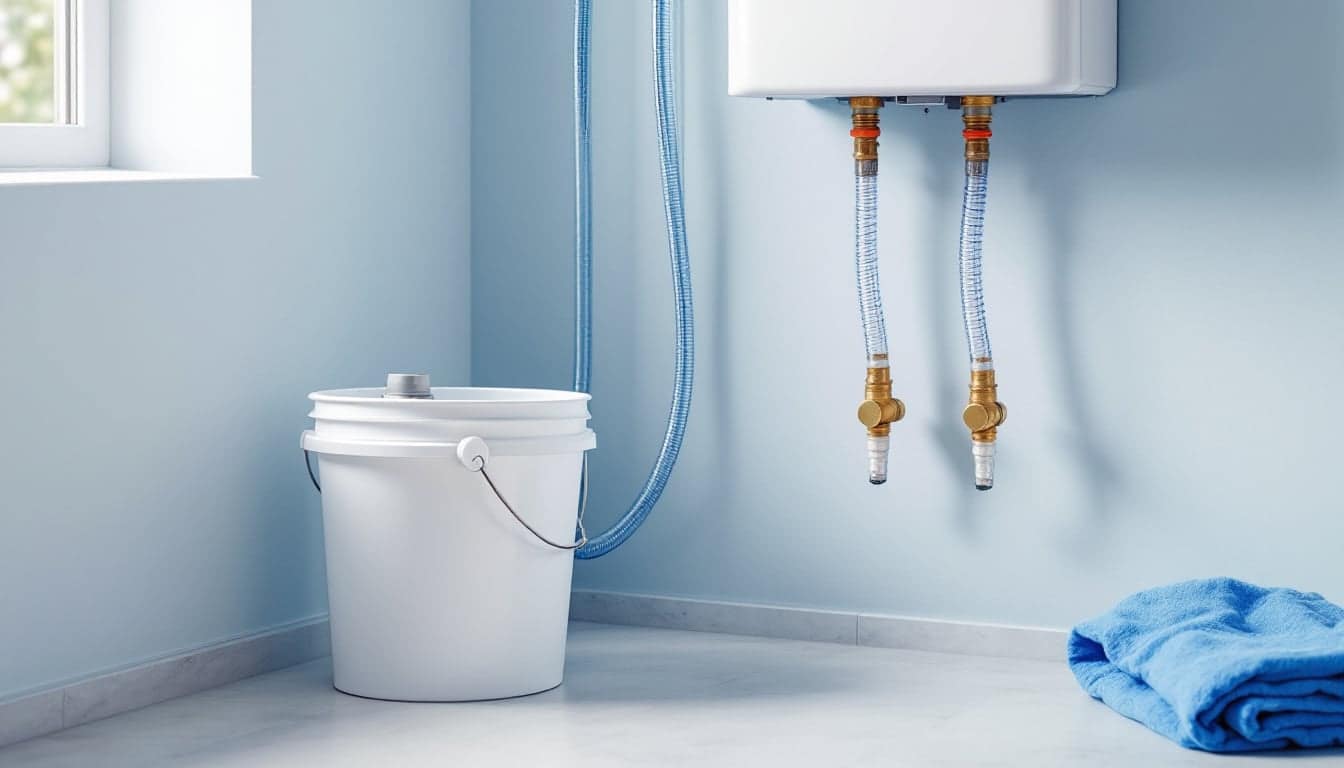
With valves and kit in place, the sequence is short. Power and gas off, both isolation valves closed, one hose from the pump to the cold port and one from the hot port back to the bucket. Solution in, ports open, pump on for the time your manual gives, commonly around 45 minutes to an hour. Then a fresh-water rinse straight through the unit, the filter screen cleaned, ports capped, isolation valves open, and air cleared from a hot tap before the power goes back on. The how-to linked above takes each step in turn.
FAQ
Can I flush a tankless water heater without a kit?
Yes, if you already have a small submersible utility pump, two hoses that fit the service ports and a bucket. A kit simply bundles those parts so that they fit together.
Is a water heater flush kit the same for every brand?
The pump-and-hose kits are generic and suit most tankless heaters with hose-thread service ports. What changes from one maker to another is the descaler and the circulation time, and both come from the manual.
How long does a descaling flush take?
Allow about an hour and a half to two hours from switching off to hot water again, most of it with the pump running. The first time takes longer, because you are still finding the valves and fittings.
Do electric tankless heaters need descaling?
They scale too, since heating water drives the minerals out whatever the energy source. Follow the maker's routine, which for some electric models differs from the pump method.
Work it out Water heater size calculator

Selin Aydemir
Selin writes about central heating: combi boilers, radiators, underfloor loops and the small habits that keep a sealed system running quietly. She likes explaining why a fault happens before saying what to do about it.
General guidance only. Gas, electrical and structural work must be done by a suitably qualified person, and rules differ from country to country.