A toilet that hisses all night isn't haunted. It's nearly always the fill valve, the plastic tower on one side of the tank that lets water in after a flush and is meant to shut it off again. Toilet fill valve replacement is one of the easier jobs in a house: one new part, a towel, a sponge and 30 to 45 minutes, most of it spent waiting for the tank to drain and fill.
The catch is that a worn fill valve and a worn flapper produce similar symptoms, and plenty of people buy the wrong part. So: confirm the fault, measure the tank, then swap the valve. In that order.
Some tool links earn us a commission. As an Amazon Associate I earn from qualifying purchases.
Signs the fill valve is on its way out
Take the lid off the tank, put it somewhere it can't fall (porcelain lids meet tiled floors only once) and watch a full flush and refill. The fill valve's usual complaints:
- Hissing that never stops. A faint trickle long after the tank should be full. The seal in the valve cap isn't closing properly.
- Slow refill. A tank that used to fill in a minute or so now takes several. Grit, scale or a part-closed shutoff valve is the usual cause.
- Water running into the overflow tube. The level climbs to the top of the open pipe in the middle of the tank and spills into the bowl. Either the level is set too high or the valve can't shut off.
- Noise, or a tank that only half fills. Squealing or a thud in the pipes as it closes; weak flushes and double flushing.
Fill valve or flapper?
The flapper is the rubber seal at the bottom of the tank. When it leaks, water seeps into the bowl, the level drops, and the fill valve wakes up to top it up. You hear the toilet refill on its own with nobody near it. That isn't the fill valve misbehaving. It's doing its job, repeatedly, because something else is leaking.
The quick check: add a few drops of food colouring to the tank, don't flush, and come back in 20 minutes. Colour in the bowl means the flapper, and the job you want is in our guide on how to replace a toilet flapper. Clear bowl, water spilling into the overflow, hissing at the valve: it's the fill valve.
Either way, a running toilet is one of the most common silent leaks in a house. A water meter leak test shows whether water is moving when every tap is off.
How a fill valve works
Water comes up the supply line, through the threaded base of the valve and into the valve body. A float rides on the water in the tank. Flush, and the level drops, the float drops with it, and the valve opens. As the tank fills, the float rises until it closes a rubber seal in the cap. Water stops.
Meanwhile a small share of the flow goes through the refill tube into the overflow tube and down to the bowl. That tops up the water in the toilet's built-in trap, which keeps sewer smells out of the bathroom.
There are three designs. The old ballcock has a float ball on a long arm and is noisy and slow by modern standards. The float cup valve is a vertical tower with a cup sliding up and down it; most universal replacements look like this. The floatless valve sits low in the tank and senses water depth through a diaphragm, which suits shallow tanks.
The toilet fill valve diagram, in words
Picture the tank from the front with the lid off. From the bottom up:
- Supply line. A braided or plastic hose rises from the shutoff valve and screws onto the threaded shank under the tank, usually on the left.
- Shank and locknut. The threaded base of the valve pokes through a hole in the tank floor. A large plastic locknut underneath holds it; a rubber washer inside seals it against the porcelain.
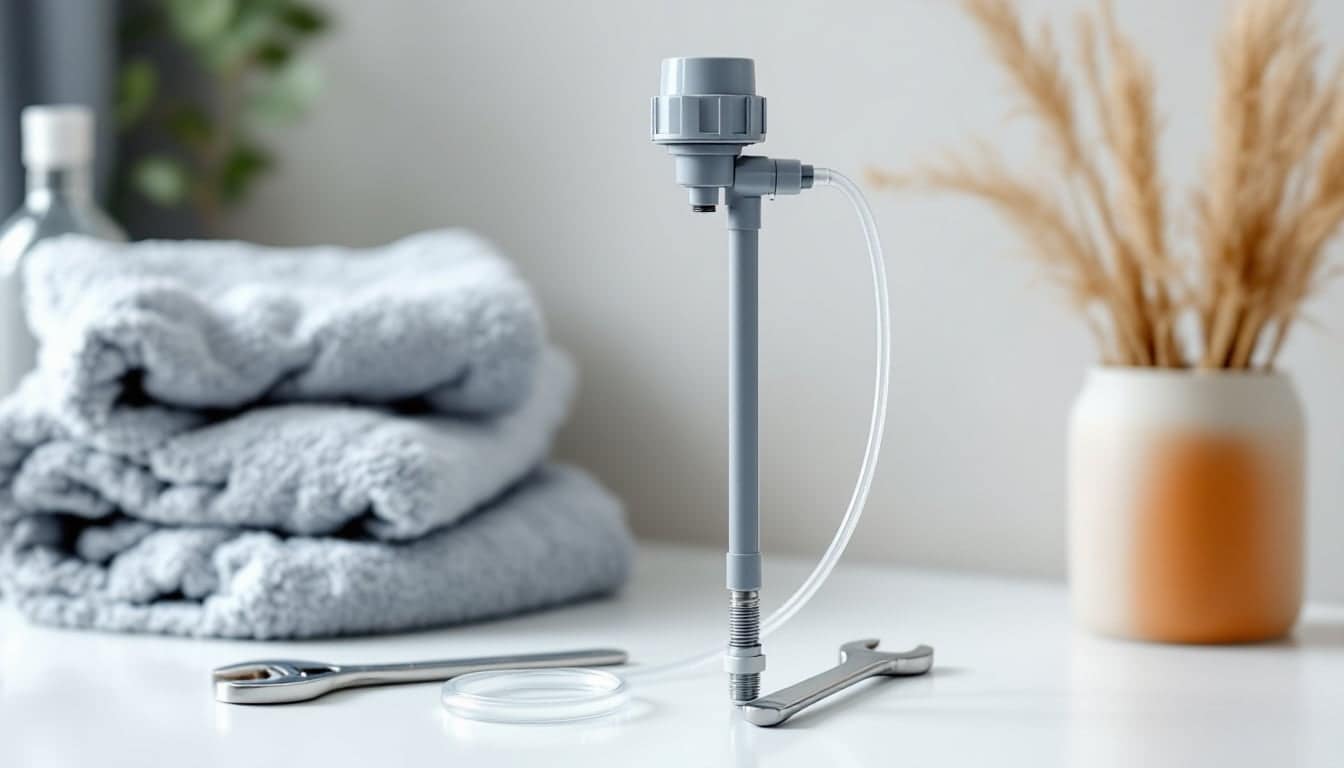
- Valve body. The tall plastic column. On most universal valves it telescopes to set the height.
- Float. A cup sliding on the column, or a ball on an arm. It decides when the water stops.
- Cap and seal. The top of the valve, where the small rubber seal does the opening and closing. Most failures start here.
- Refill tube. A thin flexible tube from a nipple near the top of the valve across to the overflow tube.
- Overflow tube. The open pipe in the centre. Anything spilling into it ends up in the bowl rather than on your floor.
- Flapper and chain. The rubber seal at the base of the overflow tube, linked to the handle. Not part of this job, but you'll be working right next to it.
Before you buy: measure the tank
Universal fill valves fit most two-piece toilets. "Most" is doing some work there, so check three things with the tank drained.
- Height. Measure from the tank floor to the top of the overflow tube, then to the underside of the lid. The new valve must adjust high enough to put its critical level mark (a "CL" line on the body) at least 1 inch (25 mm) above the top of the overflow tube, while still clearing the lid. The height range is on the packaging.
- Inlet position. In US homes the supply almost always comes up from under the tank. Some toilets elsewhere are fed from the side. Match it.
- Tank style. Low-profile and one-piece toilets sometimes need a compact valve or a maker-specific part. The model number is usually stamped inside the tank.
If your supply pressure is unusually low (some well systems) or high, read the box. If it quotes bar and your gauge reads psi, the water pressure converter saves the arithmetic.
Toolbox
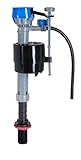 EasyAdjustable universal toilet fill valve
A height-adjustable fill valve that replaces a worn ballcock or noisy valve in most two-piece toilets.
$14.97 Amazon price, 23 October 2026, 16:34 UTC
Buy on Amazon EasyQuiet-fill universal toilet fill valve
An adjustable fill valve designed to refill the tank quietly; a good swap when the old one hisses or hammers.
$9.98 Amazon price, 23 October 2026, 16:34 UTC
Buy on Amazon
Product prices and availability are accurate as of the date/time indicated and are subject to change.
Picked from specifications and published reviews, not tested by us.
A standard adjustable valve suits most toilets. The quiet-fill type earns its place next to a bedroom, or if the old valve groaned and you'd rather never hear that again.
Try a clean first
Grit in the cap causes a lot of hissing and slow filling, and clearing it takes two minutes. Turn the water off, remove the valve cap (on most float cup valves you press down and give it a quarter turn), hold an upturned cup over the open top and turn the water on for a few seconds. The burst flushes debris out. Refit the cap. Still hissing? Replace the valve. Hunting for a matching seal usually takes longer than fitting a new one.
How to replace a toilet fill valve
Towel on the floor under the left side of the tank. Bucket and sponge nearby.
- Shut off the water. Turn the shutoff valve behind the toilet clockwise until it stops. Flush once: the tank shouldn't refill. If the valve is seized or weeps at the stem, stop (see the box below).
- Drain the tank. Flush and hold the handle down. Sponge the last inch or so into the bucket.
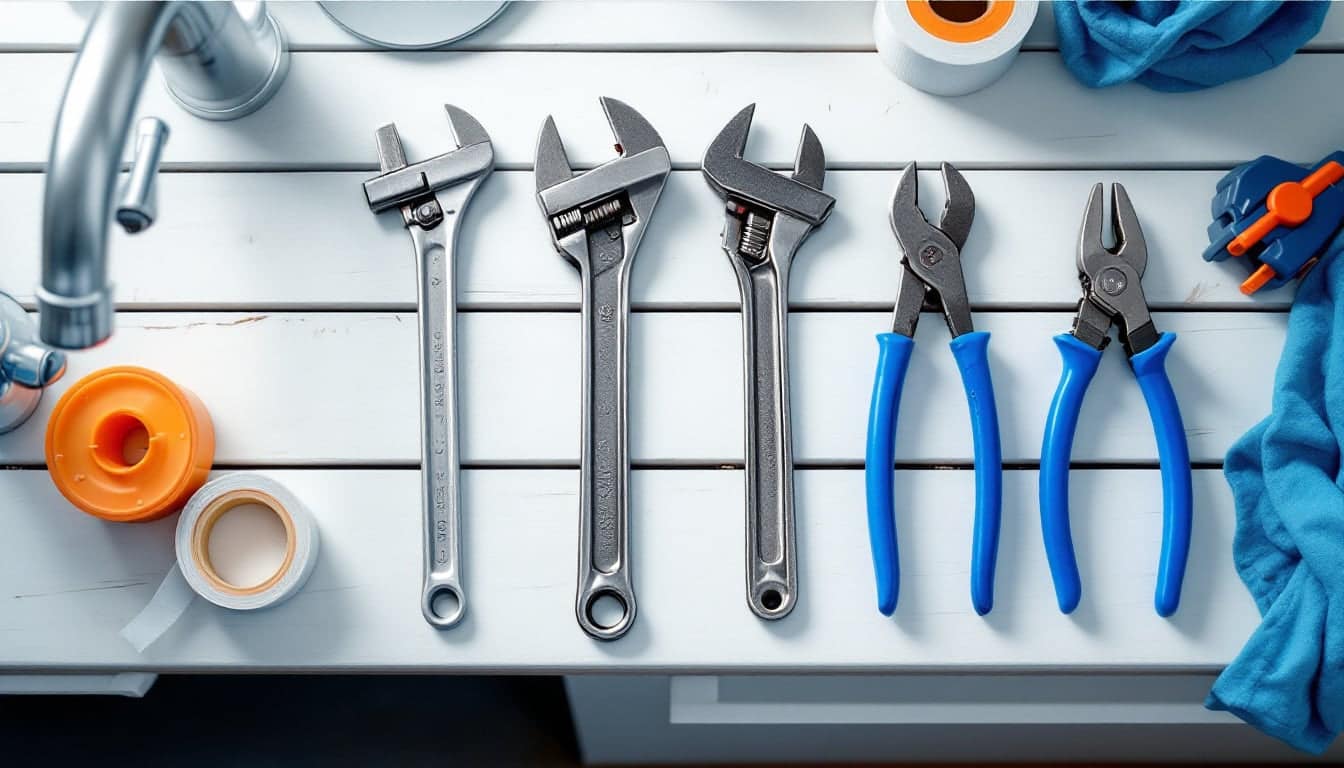
- Disconnect the supply line. Unscrew the coupling nut where it meets the shank under the tank. Hand first, groove pliers if needed. A little water drips out. That's what the towel is for.
- Undo the locknut. Unscrew the big plastic nut on the shank, holding the valve inside the tank so it doesn't spin.
- Lift out the old valve. Pull the refill tube off the overflow first. Wipe around the hole: old washers leave scale, and the new one needs a clean seat.
- Set the height. Adjust the new valve so the CL mark sits at least 1 inch (25 mm) above the overflow tube and the top clears the lid. Make sure the float won't rub the tank wall, the flush lever or the flapper chain.
- Fit the valve. Washer on the shank inside the tank, as the instructions show. Push the shank through, thread the new locknut on underneath, hand-tight, then a quarter to half turn with pliers. No more. Porcelain doesn't bend before it cracks.
- Attach the refill tube. One end on the nipple on the valve, the other clipped to the overflow tube with the angle clip supplied.
- Reconnect the supply line. Hand-tight, then a quarter turn. The washer inside the coupling makes the seal, so thread tape isn't needed on a plastic shank unless the instructions say so. If the old line is a kinked rigid tube or perished rubber, fit a new braided one while everything's apart.
- Turn the water on slowly. Open the shutoff a little at a time and dab the connection with dry paper towel. Damp means a fraction more tightening, not a heave.
- Set the level (below), flush three or four times, and check underneath again after 10 minutes before the lid goes back on.
Setting the water level and refill tube
The right level is about 1 inch (25 mm) below the top of the overflow tube, or at the waterline mark moulded inside the tank if there is one. Modern toilets use 1.6 gallons (about 6 litres) per flush or less and are designed around that mark. Too high and it trickles into the overflow forever. Too low and you get weak flushes and a lot of double flushing.
On a float cup valve you change the level with a small adjustment screw, or by squeezing a clip and sliding the float along a rod. Up raises the water, down lowers it. Small changes, flush, refill, look again.
The refill tube needs one thing above all: its end must sit above the top of the overflow tube, not pushed down inside it. Below the tank water level, the tube can siphon water out of the tank continuously. The valve keeps topping up, you keep hearing a hiss, and you blame the new part. The clip exists to stop this. Use it.
FAQ
Do I need to turn off the main water supply?
Usually not. The shutoff behind the toilet is enough. If it won't close, or there isn't one, use the main shutoff and get a new toilet shutoff fitted while the water's off.
Should I change the flapper at the same time?
Either part can be replaced alone. But if the flapper is stiff, warped or slimy, the tank is already empty and you're already wet to the elbow. Swap it now.
Why does the pipe bang when the new valve shuts off?
That's water hammer, often a sign of high supply pressure. A quiet-fill valve can soften it. Check the pressure with a hose-thread pressure gauge on an outside faucet before you blame the valve.
Why does my new fill valve keep running?
Usually one of three things: the refill tube is pushed down inside the overflow tube, the water level is set too high, or the float is catching on the flapper chain. Check those before you start doubting the valve.
Tools for this job Toolbox: Toilets and cisterns

Owen Pritchard
Owen handles everyday repairs (dripping taps, weak showers, blocked loos) and has firm views on coat hangers, caustic soda and anything sold as "flushable".
General guidance only. Gas, electrical and structural work must be done by a suitably qualified person, and rules differ from country to country.