Before you learn how to fix a leaking shower head, it pays to find out whether the head is actually the problem. Very often it isn't. Water that drips from the nozzles long after you've turned the shower off is coming through the valve in the wall, and no amount of tightening, taping or replacing the head will stop it. Water that sprays or seeps from the joint where the head meets the arm, on the other hand, is a head problem, and usually a cheap one.
So this guide starts with a quick diagnosis, then covers the two fixes most people need: replacing the washer and re-taping the arm, and replacing the valve cartridge when the drip comes from inside the wall.
Some tool links earn us a commission. As an Amazon Associate I earn from qualifying purchases.
Toolbox
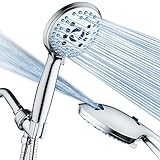 Easy8-mode handheld shower head with hose
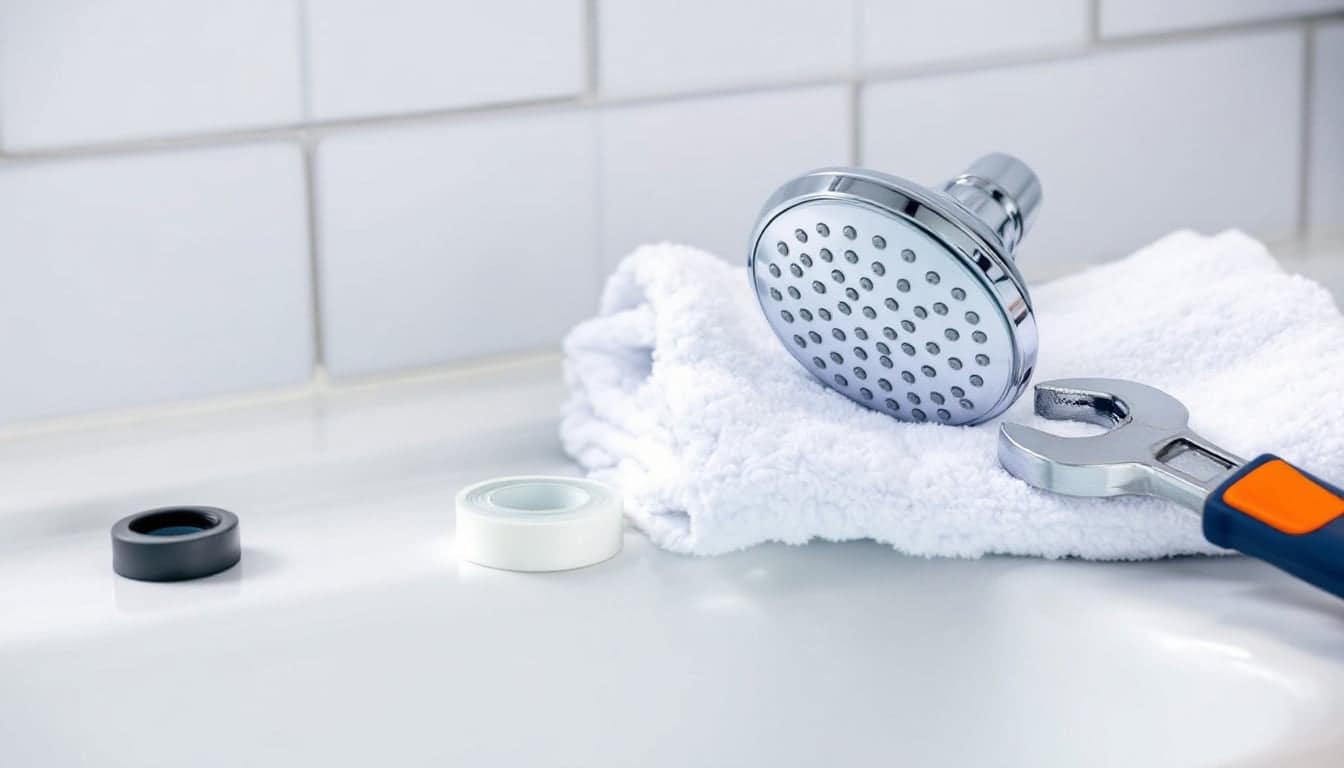
A handheld shower head with several spray settings and a hose, fitted with thread tape and a wrench.
Buy on Amazon EasyCalcium, lime and rust remover (1 gallon)
A descaling liquid for soaking scaled shower heads and aerators; read the label for surfaces to avoid.
Buy on Amazon
Picked from specifications and published reviews, not tested by us.
Why is my shower head leaking?
Dry the head and arm with a towel, run the shower for a minute, turn it off and watch. Where the water appears tells you what's wrong.
| What you see | Likely cause | Fix | Difficulty |
|---|---|---|---|
| A few drips from the nozzles that stop within a few minutes | Water left in the head and arm draining out | Nothing; this is normal | None |
| Steady dripping from the nozzles for 10 minutes or more, or all night | Worn valve cartridge, or worn washers in a two-handle valve | Replace the cartridge or stem washers | Moderate |
| Water spraying or seeping at the joint behind the head while it runs | Flattened washer or failed thread tape | New washer, fresh PTFE tape | Easy |
| Water running down the arm to the wall plate | Tape failed where the arm enters the wall fitting, or the head joint dripping back | Re-tape the arm; check the head joint first | Easy to moderate |
| Jets spraying sideways out of the face, or leaking round the face plate | Scale blocking nozzles, building back-pressure | Descale the head | Easy |
| Drips at either end of a handheld hose | Worn hose washers | New hose washers | Easy |
| Damp grout, stains on the ceiling below, or water behind the wall plate | Leak inside the wall | Call a plumber | Professional |
First, rule out the normal drip
A shower head has no shut-off of its own. When you close the valve, the water already in the arm and head has to go somewhere, and it dribbles out of the lowest nozzles. With a large rainfall head or a long arm, that can last a few minutes.
The test is simple: turn the shower off, wait 10 minutes and look again. If the drips have stopped, there's no leak. If they're still coming at the same steady pace, read on.
Dripping shower head when the water is off: it's the valve
A shower head that keeps dripping when the water is off is getting water from the valve behind the handle. The seal inside that valve is no longer closing fully. What that seal is depends on the kind of valve you have:
- Single-handle valves (one lever or knob for on, off and temperature) use a cartridge. Most modern ones are pressure-balancing cartridges, which also stop sudden temperature swings when someone flushes a toilet. Scale, grit and age wear the cartridge's seals, and it starts to let water by.
- Two-handle and three-handle valves (separate hot and cold, sometimes a third for the diverter) usually use stems with rubber seat washers on the end, much like an old compression faucet. Some newer ones use quarter-turn ceramic stems.
- Tub and shower combinations add a diverter. If water drips from the head only when the tub spout is running, the diverter is the culprit, not the main valve.
To work out which side is leaking on a two-handle valve, turn off the hot supply alone (if you can isolate it) and see whether the drip stops. A drip that's warm to the touch also points to the hot side.
Fixing a stem washer is very close to the job in the leaking tap repair guide: remove the handle, unscrew the stem with a deep shower socket, replace the washer and its brass screw, check the seat for pitting and reassemble. Single-handle cartridges are covered step by step below.
Leaking at the connection: new washer and fresh tape
This is the fix for water spraying or seeping out of the joint behind the head. Allow 15 to 20 minutes.
- Turn the shower off and put the plug in or lay a towel over the drain so small parts can't escape.
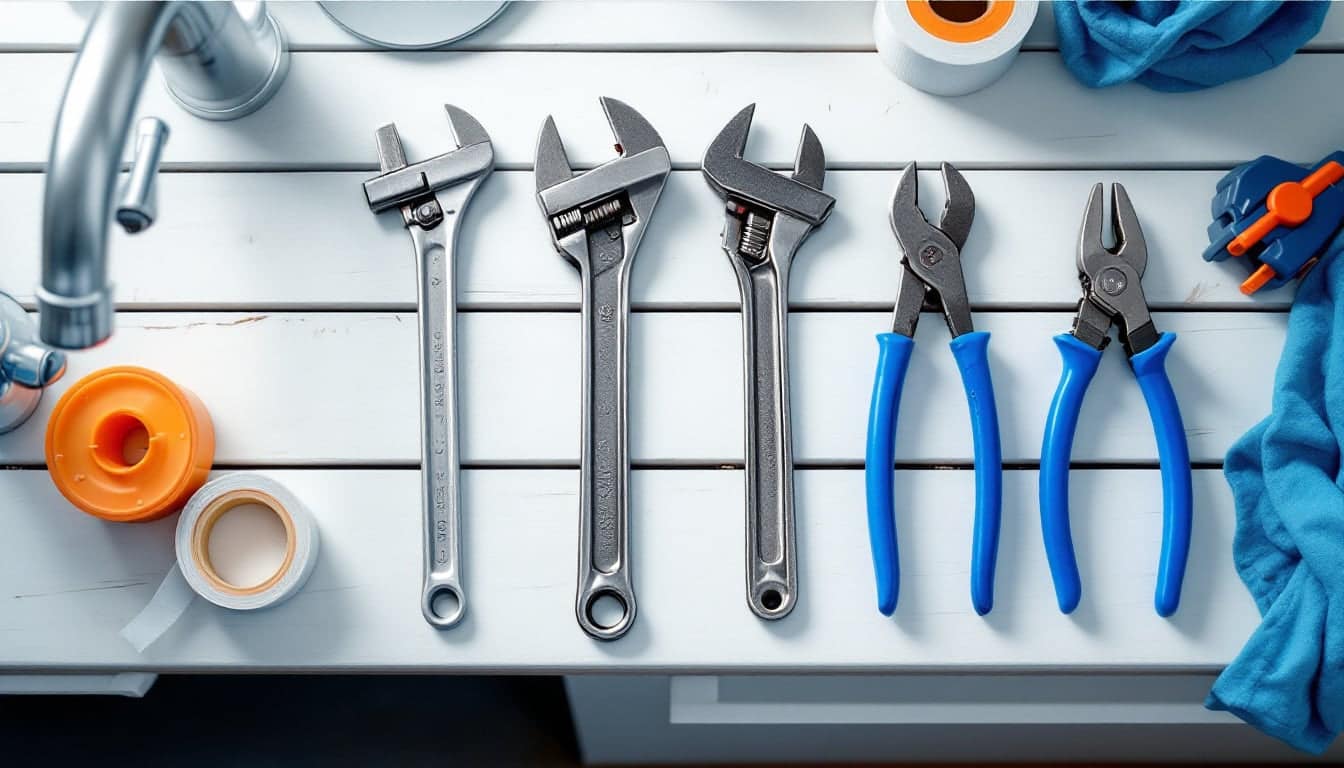
- Unscrew the head. Turn the swivel nut anticlockwise as you face the wall. If it won't move by hand, wrap it in a cloth and use an adjustable wrench, holding the arm still with your other hand so it can't twist the fitting inside the wall.
- Take out the old washer. Look inside the swivel nut. There'll be a flat rubber washer, sometimes with a small mesh screen in the middle. Prise it out with a small screwdriver.
- Match the replacement. Take the old washer to your assortment and find one with the same outside diameter, inside diameter and thickness. A rubber washer assortment covers most heads and hoses. Clean the screen while it's out.
- Strip the old tape from the arm threads with a fingernail or a toothpick, then scrub the threads with an old toothbrush. Wipe them dry.
- Re-tape the arm. Hold the end of the tape on the threads and wrap it clockwise as you look at the end of the arm, which is the same way the head tightens. Three or four wraps, pulled slightly taut, starting one thread back from the end so no shreds end up in the head.
- Fit the new washer into the nut and screw the head back on by hand.
- Snug it up with the cloth-wrapped wrench, no more than a quarter turn past hand-tight. Plastic nuts crack if you lean on them.
- Test. Run the shower at full flow for a minute and run a dry tissue around the joint. Dry tissue means you're done.
If the leak is where the arm enters the wall
The arm screws into a fitting behind the wall, usually a brass elbow fixed to a timber or metal brace. If water runs down to the wall plate, slide the plate back and look. Remove the head, unscrew the arm anticlockwise, clean its back threads, re-tape them the same way and screw it back in until the bend points down at the angle it was before.
Go gently. If the elbow moves, clicks or turns when you work on the arm, stop there; that fitting is loose inside the wall and needs a plumber.
Handheld hose leaks
A handheld has two extra joints, one at each end of the hose, and each has its own washer. Unscrew the hose at the leaking end, replace the washer, and refit hand-tight. Hoses often have a different nut at each end, so check which end is which before buying replacements. A hose with a split, bulge or kinked cover should be replaced outright.
If water sprays from the face
When the nozzles are partly blocked with scale, pressure builds inside the head and water finds a way out round the face plate or sprays sideways. That's not a seal failure. Descale it first, using the soak described in how to clean a shower head with vinegar, and the "leak" usually disappears.
When the cartridge is the culprit
If the drip continues after 10 minutes and you have a single-handle valve, the cartridge is the usual cause. Replacing one is a reasonable DIY job if you can shut off the water and identify the part.
Before you start
- Identify the valve. Look for a maker's name on the handle, the wall plate or the cartridge itself once it's out. Take photos of the handle and plate.
- Plan the shut-off. Some valves have small integral stops behind the wall plate, slotted screws you turn with a flat screwdriver. Many don't, and you'll need to close the main shut-off for the house.
- Buy the cartridge after you remove the old one if you aren't certain of the model. Two cartridges that look alike can differ by a few millimetres.
Replacing the cartridge
- Shut off the water at the integral stops or the main, then open the shower valve to drain the pipe.
- Remove the handle. Prise off the cap, undo the screw and pull the handle straight off.
- Remove the wall plate (escutcheon). It's usually held by two screws. Cut through any old caulk with a utility knife.
- Note the orientation of the cartridge. Photograph which way the stem and any "hot" marking face. Fitting it upside down swaps hot and cold.
- Remove the retaining clip or bonnet nut. Clips pull out with needle-nose pliers; nuts unscrew with groove pliers.
- Pull the cartridge out. Grip the stem with pliers and pull straight. A cartridge stuck by years of scale may need a cartridge puller made for that valve.
- Clean the valve body with a cloth. Check for grit and old O-ring pieces left behind.
- Fit the new cartridge in the same orientation, with a light smear of silicone grease on its O-rings if the instructions call for it, and refit the clip or nut.
- Set the temperature limit stop if the valve has one. It's a small plastic ring or lever that limits how far the handle turns towards hot. Set it as before, so the hottest position is comfortable rather than scalding.
- Turn the water back on slowly, check for drips at the valve and refit the plate and handle. Seal round the top and sides of the plate with silicone, leaving the bottom open so any water that gets behind it can escape.
If you can't find any visible drip but your water bill keeps climbing, the leak may be somewhere you can't see. The leak detection guides explain how to track it down.
FAQ
Will thread tape stop a shower head dripping when it's off?
No. Tape seals the threaded joint, so it only helps with leaks at the connection. A drip from the nozzles with the water off comes from the valve.
Can I just tighten the shower head harder?
Not as a fix. If a washer is flattened or the tape has failed, extra force mostly cracks plastic nuts or strains the fitting behind the wall. Replace the washer and re-tape instead.
How much water does a dripping shower head waste?
More than it looks. The US EPA's WaterSense programme estimates that a shower head leaking at 10 drips a minute wastes more than 500 gallons (about 1,900 litres) a year.
Work it out Flow rate calculator

Hannah Leclerc
Hannah writes about bathrooms and kitchens: planning a refit, keeping wastes flowing and asking installers the right questions before the tiles go on.
General guidance only. Gas, electrical and structural work must be done by a suitably qualified person, and rules differ from country to country.