A garbage disposal leaking under the sink usually announces itself with a damp cabinet floor, a musty smell or a shelf that has started to swell. The useful question is not whether it leaks but where. Water at the top, around the sink flange, is usually a seal you can renew in an afternoon. Water at the side is a hose clamp or a gasket. Water from the bottom of the unit usually means the disposal has reached the end of its life.
Below is a way to pin the leak to one of those three places, then the fix for each, in the order worth trying them.
Power off before anything else
- If the disposal plugs in, unplug it from the outlet under the sink. If it is hardwired, switch it off at the breaker. The wall switch alone is not enough, because someone can flick it while your hands are under the unit.
- Never put a hand into the grinding chamber. Use tongs to fish anything out.
- If water has pooled around the outlet, the cord or the electrical cover plate on the bottom of the unit, switch off the breaker before reaching in, and leave the disposal off until everything is dry and checked.
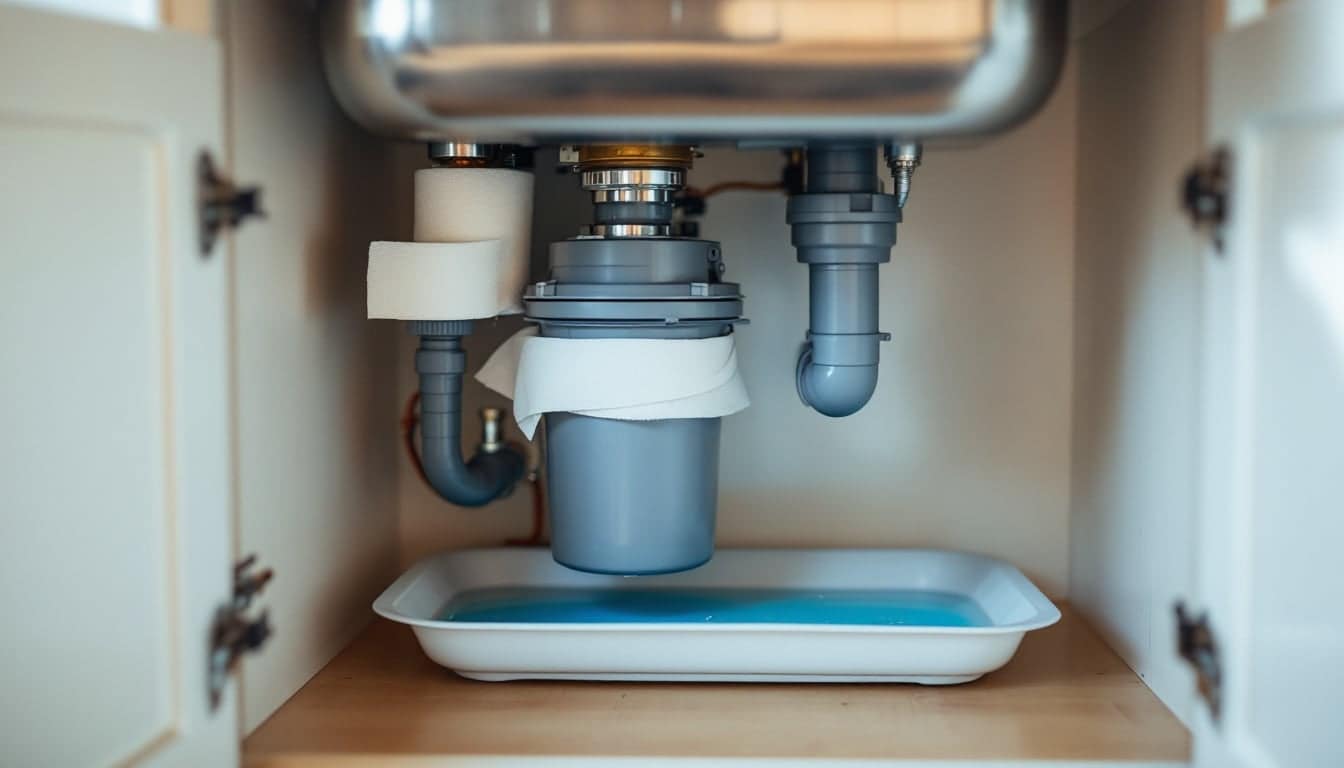
- Empty the cabinet, put a shallow tray or baking pan under the unit, and have a flashlight and a bucket ready.
Why is my garbage disposal leaking? The three places
| Where the water shows | When it drips | Usual cause | Fix |
|---|---|---|---|
| Top, at the sink flange | Sink full or draining | Dried-out plumber's putty or a loose mounting ring | Tighten the ring, then re-seal the flange |
| Side, dishwasher inlet | During a dishwasher drain | Loose clamp or cracked hose end | Tighten the clamp or replace the hose |
| Side, drain outlet | Water running through the unit | Worn gasket, loose bolt or loose slip nut | New gasket; tighten bolts and nut |
| Bottom or reset button | Whenever water is inside | Failed internal seal or corroded housing | Replace the disposal |
Water runs down the outside of the unit, so a drip from the bottom often started higher up. Do not trust where the drop falls. Find where it starts.
Find the leak with paper towels and food colouring
- With the power off, dry the whole unit and the pipes around it with a cloth.
- Wrap a strip of dry paper towel round each joint: the sink flange where it meets the mounting ring, the dishwasher inlet, the drain outlet on the side, the slip nut on the trap, and the bottom of the unit. Lay a fresh sheet in the tray.
- Put the stopper in the sink and fill it with 2 to 3 inches (50 to 75 mm) of water. Add a few drops of food colouring, enough to tint it clearly.
- Wait five minutes and check each towel. A coloured mark at the flange while the stopper is in means the top seal is leaking.
- Pull the stopper and let the coloured water drain through the disposal. The unit does not need power for this. Watch the side outlet and the trap as it goes.
- Swap any wet towels for dry ones, then run the dishwasher on a short cycle or just its drain step and watch the inlet. Dishwasher water is uncoloured, so a clear wet mark there points to the hose.
- Last, look underneath. Coloured water at the bottom or around the reset button, with every joint above dry, means the leak is inside the unit.
The colour tells today's water apart from old drips and from condensation off a cold-water pipe nearby. Rinse the sink straight after, especially if it is a pale composite.
Garbage disposal leaking from the top
Tighten the mounting ring first
The disposal hangs from a mounting assembly clamped under the sink flange, and years of vibration can loosen it.
- Twist-lock mount (most modern units): the lower mounting ring has three tabs that ride up ramps. Put the disposal wrench or a sturdy flat screwdriver against one of the tabs and turn the ring the way that locks it, until the tabs sit firmly over the ridge. If it is already tight, do not force it.
- Three-screw mount (older units): three screws press a backup ring against the underside of the flange. Tighten each one a little in turn so the pressure stays even.
Repeat the coloured-water test. If the flange stays dry, you are done.
Re-seal the sink flange
If the ring is tight and coloured water still appears at the top, the putty seal has failed. Allow about an hour.
- With the power off, loosen the clamp on the dishwasher hose and pull it off the inlet. Undo the drain outlet tube from the side of the unit, with the bucket underneath.
- Support the disposal from below (it is heavier than it looks), turn the mounting ring to release it, and lower the unit out.
- Loosen the mounting screws, prise the large snap ring off the flange with a flat screwdriver, and remove the mounting ring, backup ring and fibre gasket.
- Push the flange up and out of the sink. Scrape off the old putty with a plastic scraper and clean the sink opening until it is dry.
- Roll a rope of fresh plumber's putty about 1/2 inch (12 mm) thick, long enough to go right round, and press it onto the underside of the flange lip.
- Seat the flange in the sink opening and press it down firmly. Set something heavy on it from above while you work underneath.
- Refit the gasket, backup ring, mounting ring and snap ring, then tighten the mounting screws evenly until putty squeezes out all round. Wipe the excess off the sink.
- Hang the disposal back on the ring, lock it, refit the drain tube and the dishwasher hose, restore power and run the test again.
Plumber's putty does not set, so you can test straight away. On natural stone and some composite sinks, ordinary putty can leave a mark; follow the sink maker's instructions, which may call for a stain-free putty or a silicone sealant instead.
Garbage disposal leaking from the side
The dishwasher inlet
The dishwasher drain hose clamps onto a short inlet spout on the side of the disposal, usually after rising to a high loop or passing through an air gap on the sink deck. Tighten the clamp with a screwdriver or nut driver. If the hose end is split or has gone hard, and there is enough slack, trim the damaged end off square and refit it. Otherwise replace the hose. Keep the high loop or air gap when you refit, since many local codes require one.
A leak here only during dishwasher drains can also mean water is backing up because the drain beyond the disposal is partly blocked. If the sink drains slowly too, the guide to what blocks a kitchen drain is the next stop.
The drain outlet
A curved tube carries water from the side of the disposal to the trap. It is held to the unit by a metal flange with one or two bolts and sealed with a rubber gasket. Tighten the bolts first. If it still weeps, take the tube off and fit a new gasket, taking the old one with you to match the size. Where the tube meets the trap, a plastic slip nut should be hand-tight plus about a quarter turn with groove pliers. Overtightening cracks plastic nuts, which then leak worse than before.
Garbage disposal leaking from the bottom
If the coloured water comes out of the bottom of the unit, or seeps round the reset button, while every joint above stays dry, the seals between the grinding chamber and the motor have worn or the housing has corroded through. Those parts are not sold for home repair on most units, and opening the housing exposes the motor. Replacement is the practical answer.
Stop using the disposal and keep it unplugged, because water is reaching the motor. A replacement on the same mounting system may hang straight onto your existing flange; a different one needs the new flange that comes in the box. Units sold with a cord fitted plug into the existing outlet. A hardwired connection is a job for an electrician wherever local rules require it. If the old unit was also humming or stalling, the garbage disposal not working guide explains what that meant.
Once the new unit is in, a battery leak alarm on the cabinet floor takes a minute to set down and catches the next leak early.
FAQ
Why is my garbage disposal leaking only when the dishwasher runs?
Either the inlet clamp or hose is at fault, or the drain beyond the disposal is partly blocked and the dishwasher's discharge backs up to the weakest joint. Check the clamp and the hose end first, then check how fast the sink drains.
Can a garbage disposal leaking from the bottom be repaired?
Not in any practical sense. The leak comes from internal seals or a corroded body, and neither is sold or designed for home repair. Replace the unit.
Can I use silicone instead of plumber's putty on the flange?
Some sink and disposal makers allow it, and it is the usual choice on stone sinks. Silicone needs time to cure before you test it and is harder to remove next time. Follow the instructions for your sink and your unit.
Is it safe to keep using a leaking disposal?
A slow drip at the flange or the side will not hurt the unit, but it will soak the cabinet, so fix it within days. A leak from the bottom is different: water is getting near the motor and the wiring, so leave the disposal unplugged until it is replaced. If the cabinet has been wet for a while, a moisture meter shows whether the floor and the wall behind are drying, and the water leak detection guides cover what to do if they are not.
Tools for this job Toolbox: Blocked drains

Kerem Yalçın
Kerem covers leaks, damp and the detective work in between: meter tests, moisture readings and the non-destructive methods used to find a leak without opening every wall.
General guidance only. Gas, electrical and structural work must be done by a suitably qualified person, and rules differ from country to country.