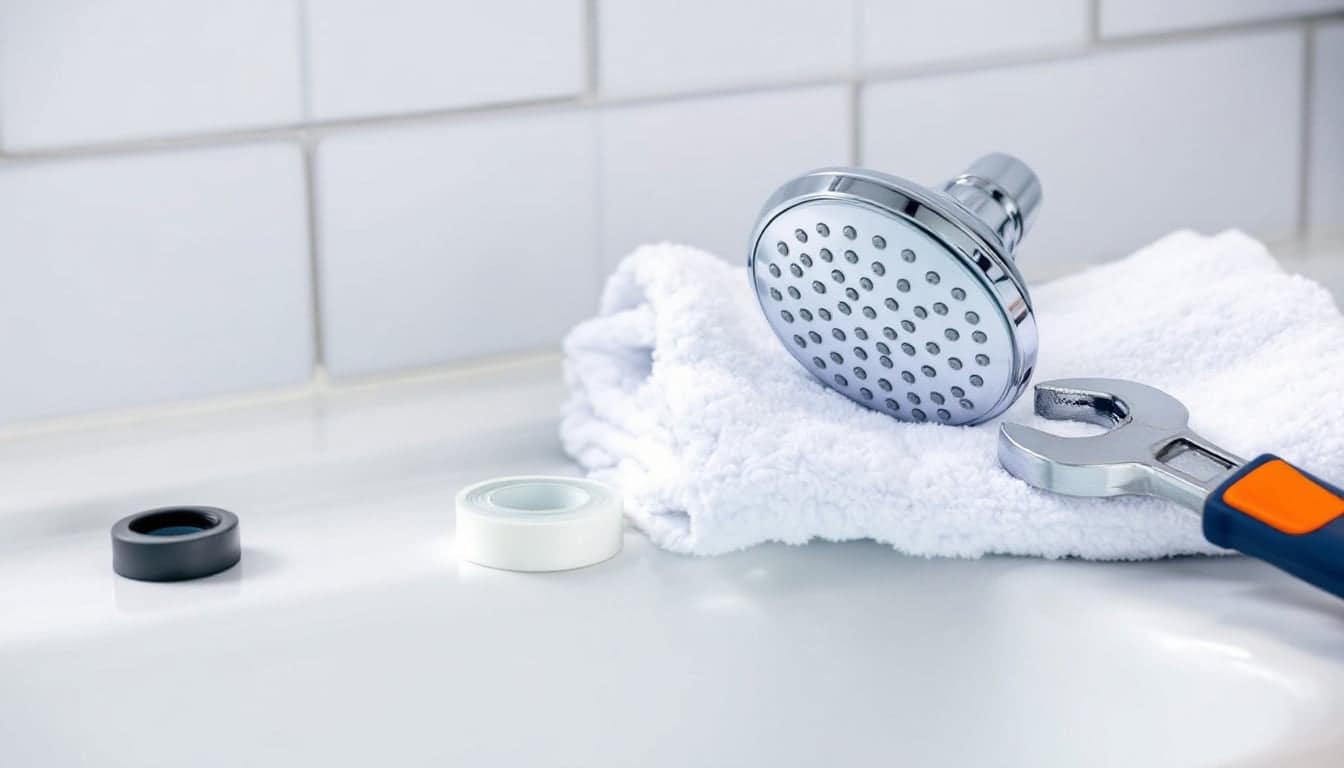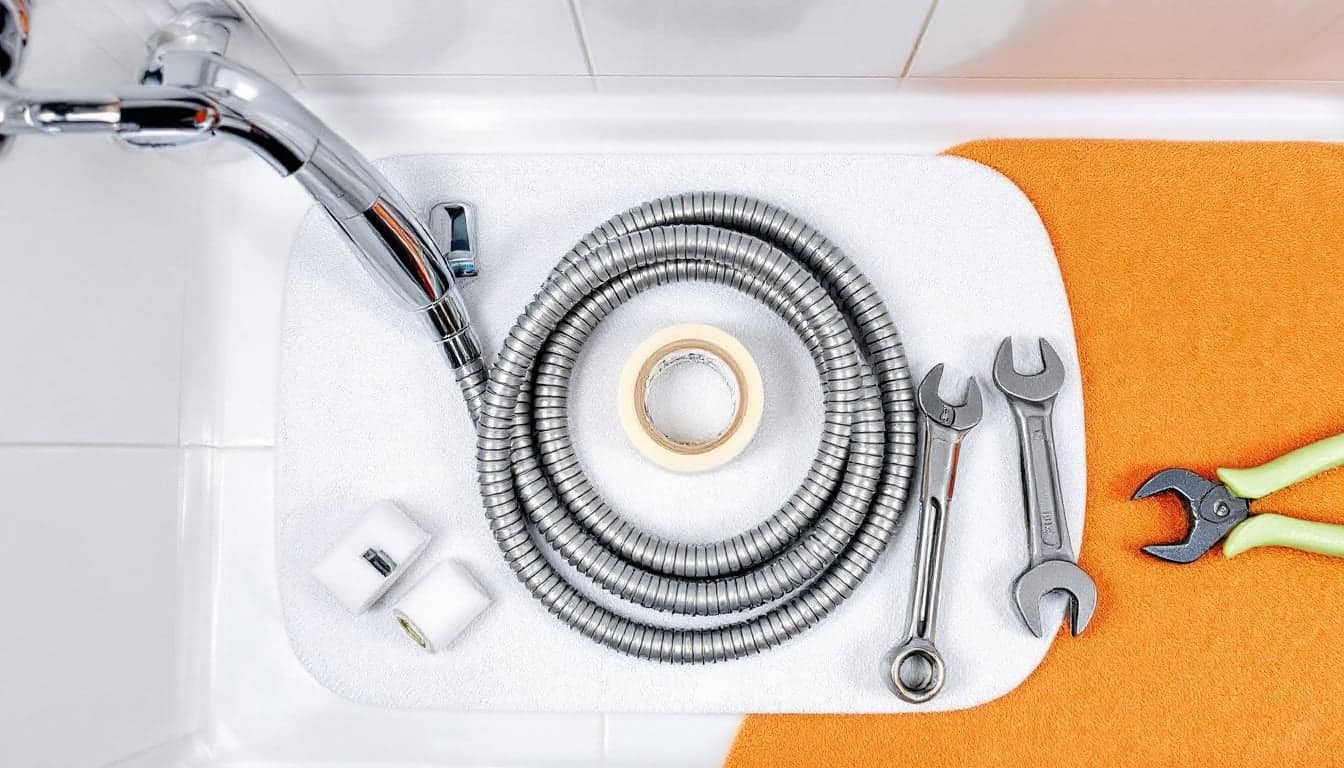
Swapping a tired shower head for a new one is one of the easiest bathroom upgrades there is, and one of the few you notice every single day. If you've never done it, how to replace a shower head comes down to three things: getting the old one off, sealing the threads properly and not straining the pipe fitting inside the wall. Most swaps take 15 to 30 minutes, need two or three basic tools and don't involve turning off the water to the house. The awkward part, when there is one, is the old head.
This guide runs in order: getting the old head off (including stuck ones), cleaning the arm threads, which way to wrap PTFE tape, fitting a fixed or handheld head, what the flow restrictor is for, and how to check the new head's flow when you're done.
Before you start
Five minutes of preparation saves most of the frustration.
- Check the new head's connection. Shower arms and heads in the US almost all use a standard 1/2-inch thread, so a new head will fit an existing arm in nearly every home. Odd sizes turn up mainly on very old or imported fittings.
- Measure the clearance. A large rainfall head or a handheld bracket changes where the spray lands. Stand in the shower and check it won't sit at forehead height for the tallest person.
- Read the new head's instructions. Some say to use thread tape on the arm, some say the washer alone seals and tape is optional. Follow the box.
- Plug the drain. Put the plug in or lay a towel over it. Washers and screens are small, and drains are hungry.
- Pad your tools. Wrap the jaws of the wrench and pliers in a cloth or a few layers of tape so they don't mark the chrome.
You don't need to shut off the water to the house. Just make sure the shower valve is fully off.
Removing the old shower head
The normal way
- Find the swivel nut. It's the ring at the back of the head where it meets the arm, often with flat sides for a wrench.
- Turn it anticlockwise by hand, as you face the wall. Many heads come off with nothing more than a firm grip.
- If it's stiff, use the wrench on the nut and hold the shower arm with your other hand, or with padded groove pliers just behind the nut. Keeping the arm still matters. The arm screws into a fitting inside the wall, and twisting it can loosen that fitting where you can't see it.
- Once it moves, unscrew by hand and lift the head away. Expect a splash of water from inside.
A stuck shower head
When a head has been on for years, scale can bond the threads. Work up this list in order and stop as soon as it turns:
- Two tools, opposite directions. Wrench on the nut, padded pliers on the arm, and turn only the wrench. Short, firm pulls work better than one long heave.
- Soak the joint. Fill a plastic bag with white vinegar, pull it up around the head so the nut is submerged, and secure it with a rubber band. Leave it a few hours or overnight, then try again.
- Warm the nut. A hairdryer on a metal nut for a minute or two can break the scale's grip. Skip this on plastic heads.
- Tap, don't hammer. A few light taps on the nut with the wrench handle can crack the scale layer.
If the arm starts turning with the head, or you hear a creak from inside the wall, stop. Use the padded pliers to hold the arm more firmly. If the fitting still moves, read the box at the end before going further.
Cleaning the shower arm threads
With the head off, look at the arm's threaded end. You'll usually find old shreds of tape, a ring of scale and sometimes a green or white crust.
- Pick off old tape with a fingernail or a toothpick. Pull it away from the arm, not into the open end.
- Scrub the threads with an old toothbrush dipped in vinegar. For heavy scale, soak a cloth in vinegar and wrap it round the threads for 20 minutes first.
- Check the threads. They should be complete and even. Cracks, flattened threads or deep corrosion mean the arm should be replaced, which is a simple job if the fitting behind the wall is solid.
- Rinse and dry the threads. Tape won't grip a wet or greasy thread.
If you want to keep the old head as a spare, now is a good time to descale it too; the soak is described in how to clean a shower head with vinegar.
Which way to wrap PTFE tape
This is where most first-time leaks come from. The rule: wrap clockwise as you look at the open end of the arm, the same direction the new head will turn as it tightens. That way, screwing the head on smooths the tape into the threads instead of rolling it off.
- Start one thread back from the end, so no tape hangs over the opening.
- Hold the loose end with your thumb and pull the tape slightly taut as you wrap.
- Three or four wraps is enough. More than that and the head may not seat properly.
- Press the tape into the threads with your fingertip, then tear it off and smooth the end flat.
Fitting the new head
A fixed shower head
- Check the washer is in place inside the new head's nut. Most come pre-fitted; some are packed separately with a small screen.
- Screw the head on by hand, clockwise as you face the wall. It should turn easily for several rotations. If it binds after one turn, back it off and start again; it's cross-threaded.
- Tighten hand-tight, then give it up to a quarter turn more with the padded wrench if the instructions allow. Many plastic heads say hand-tight only.
- Set the angle of the head and test.
A handheld shower head
A handheld kit has three parts that go on in order: the bracket (or diverter mount) on the arm, the hose on the bracket, and the handset on the hose.
- Tape the arm as above and screw the bracket on hand-tight, angled so the handset will sit where you want it.
- Find the hose ends. Many hoses have a different nut at each end; the instructions will say which goes to the handset.
- Check a washer is seated in each hose nut, then connect the hose to the bracket and to the handset, hand-tight only. These joints rarely need a wrench.
- Clip the handset into the bracket and test every spray setting.
Fixed or handheld?
| Fixed head | Handheld head | |
|---|---|---|
| Fitting time | 10 to 15 minutes | 20 to 30 minutes |
| Joints that can leak | One | Three |
| Rinsing the tub, children or a dog | Awkward | Easy |
| Cleaning and descaling | Bag soak on the arm, or unscrew | Unscrew the handset and drop it in a bowl |
| Seated showering | Not practical | Easy with a low bracket or slide bar |
| Clearance needed | Depends on head size | Allow for the bracket and hose loop |
What a flow restrictor is for
Look inside the inlet of almost any new shower head and, behind the washer and screen, you'll see a small plastic disc, often coloured, with a hole or star-shaped opening in the middle. That's the flow restrictor. It limits how much water the head can pass, whatever the pressure behind it.
In the US, the federal maximum for shower heads is 2.5 gallons per minute (about 9.5 litres a minute) at 80 psi (5.5 bar). Heads with the WaterSense label use 2.0 gpm (7.6 litres) or less, and some states set lower limits than the federal one; California's, for example, is 1.8 gpm. The restrictor is how the head meets those limits. It also cuts how much hot water each shower draws, which is why it matters more than it looks if you have a small water heater.
Plenty of people search for how to remove a flow restrictor from a shower head when a new head feels disappointing. This guide doesn't cover removing one. It's part of how the head is certified, removing it can breach local plumbing rules and the head's warranty, and it rarely fixes the real complaint. Try these instead:
- Clean the screen in front of the restrictor. Grit from old pipes often collects there in the first few days after a swap.
- Check your house pressure. A pressure gauge on an outside faucet gives a reading in a minute. Most homes sit somewhere between 40 and 80 psi (2.8 and 5.5 bar). If yours is well below that, the guide to low water pressure causes explains what to look at.
- Choose a head designed for low pressure. Smaller faces, fewer and narrower jets and air-induction designs feel stronger at the same flow than a wide rainfall head.
Checking the flow
Once the new head is on, measure what you're getting. It takes two minutes and tells you whether the swap did what you wanted.
- Turn the shower on fully.
- Hold a 1-gallon bucket under the head (or a container you've marked at 1 gallon) and time how long it takes to fill.
- Divide 60 by the number of seconds. A 24-second fill is 2.5 gpm; a 30-second fill is 2.0 gpm.
The flow rate calculator does the sum for you and converts to litres. If the result is far below the figure on the box, recheck the screen, the washer position and your house pressure.
Leak check and finish
Run the shower at full flow for two minutes and wipe a dry tissue around every joint: arm to head, or arm to bracket, bracket to hose and hose to handset. A damp tissue at one joint usually means a washer isn't seated or the tape is too thin; tighten a little more, and if that doesn't help, take it apart, re-tape and refit. If the joint stays dry but the head keeps dripping from the nozzles long after the shower is off, the drip is coming from the valve, and how to fix a leaking shower head walks through that.
Work it out Flow rate calculator

Hannah Leclerc
Hannah writes about bathrooms and kitchens: planning a refit, keeping wastes flowing and asking installers the right questions before the tiles go on.
General guidance only. Gas, electrical and structural work must be done by a suitably qualified person, and rules differ from country to country.