Most garbage disposals don't die dramatically. They hum a bit longer before starting, trip their reset button more often, and one morning there's a damp patch on the cabinet floor that won't go away. At that point you need to know if it's a repair or a garbage disposal replacement, and if it's a replacement, what you'll be paying for.
This guide covers both. It won't give dollar figures, since they vary too much by area and by year, but it will explain what pushes a job up or down, how long the work takes and when the wiring belongs to an electrician.
Some links earn us a commission.
Repair or replace?
A lot of disposal trouble is fixable in ten minutes. Some of it isn't fixable at all. This table sorts the two.
| Symptom | What it usually means | Repair or replace |
|---|---|---|
| Hums but won't turn | Something wedged between the plate and the grinding ring | Repair: free it with a jam wrench, then press reset |
| Completely silent | Tripped reset button, breaker or switch | Repair: press reset, check the breaker |
| Trips the reset button again and again | Motor overheating or wearing out | Replace if it continues after clearing jams |
| Leaks at the sink flange | Old putty failed or the mount has loosened | Repair: reseal the flange |
| Leaks at the dishwasher hose or drain pipe | Loose clamp or worn gasket | Repair: tighten or replace the gasket |
| Leaks from the bottom of the body | Internal seal failed or housing corroded through | Replace |
| Metallic grinding or rattling with nothing in it | Worn bearings or broken internal parts | Usually replace |
| Rust on the outside of the body | Corrosion from slow leaks | Replace soon |
If yours hums or won't start, work through our guide to a garbage disposal not working before spending anything. If water is the problem, the guide to a garbage disposal leaking shows how to tell a flange or hose leak, which can be fixed, from a body leak, which can't.
What sets the garbage disposal replacement cost
Motor size: 1/3, 1/2 or 3/4 HP
Disposals are sold by motor power, and the bigger motors cost more.
- 1/3 HP. The basic size, for one or two people who mostly rinse plates. Smaller motors jam more easily on fibrous peelings and tough scraps.
- 1/2 HP. The common choice for a family kitchen. Enough power for everyday scraps without the bulk of the larger units.
- 3/4 HP and up. For big households and people who cook from scratch every day. These usually have stainless grinding parts and more sound insulation, but the body is taller and heavier.
Measure the space under your sink before you choose. A larger unit can sit lower than the old one, so the drain outlet ends up below the trap arm in the wall. That means reworking the trap, which adds parts and time.
Continuous feed or batch feed
A continuous-feed disposal runs while a wall switch or air button is on, and you feed scraps in with cold water running. It's the familiar type and the less expensive one. A batch-feed unit only runs when you put a special stopper in the drain opening, so it grinds one load at a time. It's slower to use but needs no wall switch, and many families with small children prefer it. Batch-feed models cost more to buy.
Same mount or a new mount
Every disposal hangs from a mounting assembly clamped to the sink flange. If the new unit uses the same mounting system as the old one, the plumber can often keep the flange and simply swap the body. A different system means removing the old flange, cleaning the sink opening and fitting new parts with fresh plumber's putty, which adds 30 minutes to an hour.
First install or replacement
Adding a disposal where none existed is a bigger job than a swap. The sink drain usually needs changing, and there may be no outlet or switch under the sink. Some towns also want a permit for new installations, so check locally.
Garbage disposal installation: what the plumber does
A like-for-like replacement visit tends to run in this order. The plumber shuts off power at the breaker and confirms it's off, disconnects the dishwasher drain hose and the trap, then supports the old unit and turns the mounting ring to release it. Disposals are heavy, so it's a two-hand job. If the flange is staying, it gets checked for cracks and for old putty that has dried out. The new unit gets its power connection, the dishwasher knockout plug is removed if a dishwasher drains into it, and the body is lifted onto the mount and locked. Then the discharge tube, trap and dishwasher hose go back on, and everything is run with water while the plumber watches every joint.
Typical labour time:
- Straight swap, same mount, cord already fitted: about 1 to 2 hours.
- Swap with a new flange and mount, or trap rework: about 2 to 3 hours.
- First installation, new drain layout and electrical work: half a day or more, plus an electrician's visit.
A quote should list the unit (or say you're supplying it), labour, any new trap or drain parts, the dishwasher connection, removal of the old unit and any electrical work. If the trap and drain line look tired, it's a good moment to replace them; our guide to replacing a P-trap explains what's involved.
Corded or hardwired: where the electrician comes in
Most disposals plug into an outlet under the sink, and that outlet is switched from the wall. Some come with a cord fitted; others need a cord kit attached to a small junction box on the bottom of the unit. A hardwired disposal is wired directly to a circuit instead of plugging in.
Swapping a corded unit into an existing switched outlet is ordinary plumbing work. Anything beyond that is electrical work: adding an outlet or switch, running a new circuit, converting a hardwired connection, or dealing with scorched or loose wiring you find along the way. That belongs to a licensed electrician. Rules on dedicated circuits, switch placement and GFCI protection under sinks differ by state and town, so don't assume what applied in your last house applies in this one.
How to replace a garbage disposal yourself: an overview
If the old unit has a cord, the outlet is already there and the new one uses the same mount, a DIY swap is very doable in an afternoon. The outline:
- Turn off the disposal's circuit at the breaker, then unplug the unit. Check it's dead with the wall switch.
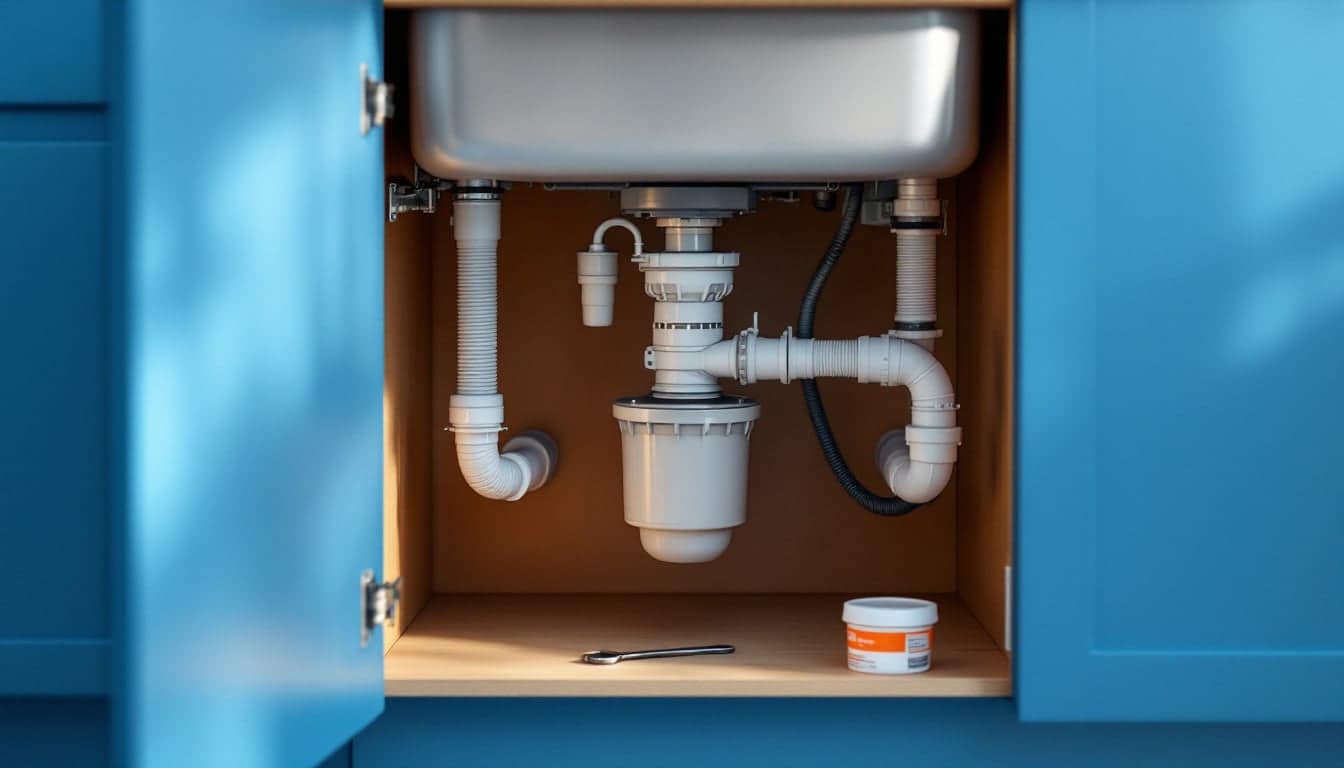
- Put a bucket and towel under the trap. Disconnect the dishwasher hose and the drain trap.
- Support the disposal from below and turn the mounting ring to drop it free.
- If you're changing the mount, loosen the mounting screws, remove the snap ring and push the old flange up through the sink. Scrape off old putty.
- Press a rope of plumber's putty under the new flange, seat it in the sink and fit the new mounting assembly from below. Wipe away the putty that squeezes out.
- Fit the cord, following the unit's instructions. If the old disposal was hardwired, stop here and call an electrician.
- If a dishwasher drains into the disposal, knock out the plug inside the dishwasher inlet and remove the loose piece from inside the grinding chamber. Forgetting this is the classic reason a dishwasher stops draining after a new disposal goes in.
- Lift the unit onto the mount and turn the ring until it locks.
- Reconnect the discharge tube, trap and dishwasher hose.
- Restore power, run cold water, switch on and check every joint with a dry paper towel.
Keep the jam wrench that comes with the new unit, or buy a spare. It lives in the hex socket on the underside and frees most jams without anyone touching the blades.
Will a home warranty cover it?
If you have a home warranty plan, or are thinking about one, a garbage disposal is often listed among covered kitchen items, and a plan may pay for repair or replacement of a unit that fails from normal wear. Read what the contract excludes before you count on it. Plans commonly leave out upgrades to a bigger unit, changes to wiring or plumbing, pre-existing faults and damage from misuse, and there's usually a service fee per claim. Coverage varies by plan, and some states are excluded altogether.
Before the plumber arrives
A little preparation shortens the visit:
- Empty the cabinet under the sink and put down a towel.
- Photograph the label on the old unit, and the space underneath it, so the plumber knows what's there.
- Check whether the disposal plugs in or disappears into the wall with no plug.
- Note whether a dishwasher drains into it.
- If you're buying the unit yourself, confirm the motor size and that it fits the space, and say so when you book.
When the job is done, run the disposal with plenty of cold water, keep grease and fibrous peelings out of it, and it'll do its job quietly for years. Our blocked drains guides cover what to do when the kitchen sink backs up anyway.
Tools for this job Toolbox: Blocked drains

Cedric Adebayo
Cedric looks after the seasonal side of a home, from winter-proofing pipes to hard water and maintenance calendars. He also covers the practical business of hiring a tradesperson you can trust.
General guidance only. Gas, electrical and structural work must be done by a suitably qualified person, and rules differ from country to country.